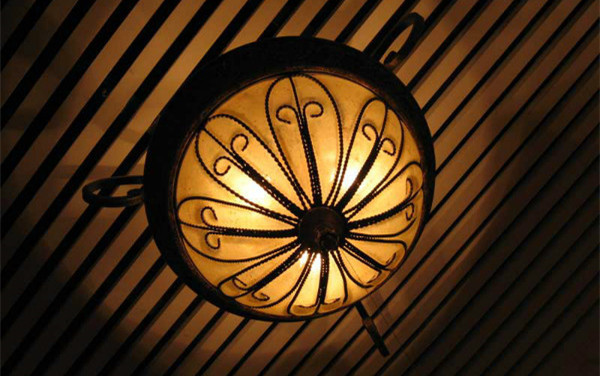
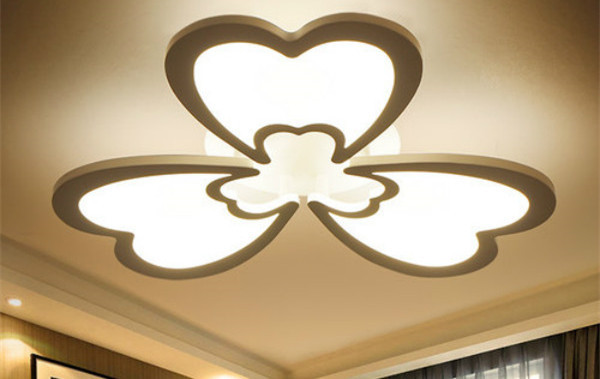
Because of its convenient installation, the ceiling lamp is stylish and generous, and it is easy to maintain, so it is favored by the majority of users. It not only plays a role in lighting, but also has a certain decorative effect, adding a bright color to the home. The following small series will talk about the installation steps of the ceiling lamp . Let's learn together! First, the location of the ceiling lamp installation steps The first thing to do to install a ceiling light is to determine where the ceiling light is installed. For example, the ceiling lamps in the living room, dining room, and kitchen are installed in the middle, so that the light at each position is relatively average. In the bedroom, considering the effect of mosquito nets and light on sleep, the ceiling light should not be installed above the bed. In addition, the ceiling lamp needs to select a wall or ceiling that can withstand the weight of the ceiling lamp for installation, and try not to choose a wooden wall surface, so as to avoid the risk of falling for a long time. Second, the ceiling lamp installation step of the removable ceiling lamp mask Remove the ceiling lamp cover. Under normal circumstances, the ceiling lamp cover has two fixed ways of rotation and snapping. When disassembling, pay attention to avoid damage to the ceiling lamp. After removing the mask, the lamp will be replaced by the way. Remove to prevent the lamp from being broken during installation. Third, the installation base of the ceiling lamp installation steps Place the base in the predetermined installation position, mark the wall with a pencil, then take the base, drill with the electric drill at the marked position, and then install the expansion bolt for fixing the base in the hole, paying attention to the diameter of the hole and the depth of the bolt and the bolt The specifications match, then put the base back to the predetermined position and fix it. Fourth, the connection wire of the ceiling lamp installation step After fixing the base, you can connect the power cable to the terminal block of the ceiling lamp. It should be noted that the two wires connected to the power cable of the ceiling lamp should have good electrical contact, and should be wrapped with black tape separately. Keep a certain distance, if possible, do not put the two wire heads under the same piece of metal to avoid short circuit, which is dangerous. 5. Installation mask and charm for installation steps of ceiling lamps After connecting the wires, you can try to power on. If everything is normal, you can turn off the power supply and install the mask of the ceiling lamp. The living room ceiling lamp also needs to be equipped with a series of charms, because each ceiling lamp pendant is different, so the specific installation method can refer to the product manual. The charms will generally remain, can be stored after installation, and can be replaced when needed later. The above is the installation steps of the ceiling lamp shared by you, and I hope to help you. If you want to know more about the ceiling light, please continue to pay attention to the net. Get a quote for 10 seconds and get four sets of design solutions for free. You can also follow the whole process of decorating the housekeeper and take action!
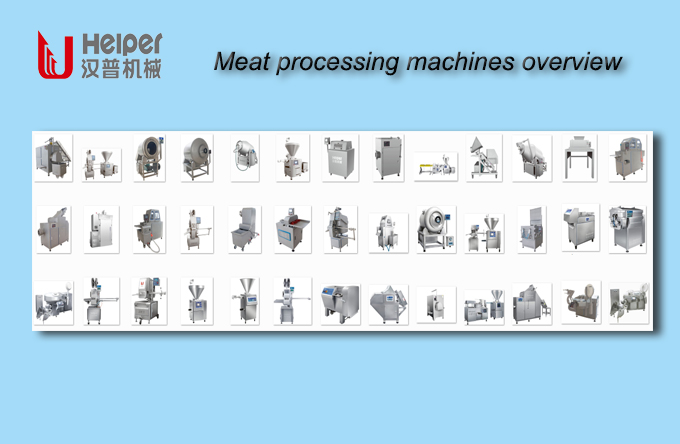
As one of the earliest enterprises specializing in meat food processing machinery, Helper Group integrates research and development, production, sales and service in the modern management system. Our company has now set up scores of equipment used in the field of meat processing such as frozen meat breaker series, meat block grinder series, chopper and mixer series, saline injector series, tumbling machine series, smoke oven series, filling machine series, sausage linker series, clips tying machine series etc.We also provide sausage lines,vacuum sausage filler,vacuum stuffer.
Sausage Separator Series,Chopper And Mixer Series,Clipping System Solutions,Sausage Lines,Vacuum Sausage Filler,Vacuum Stuffer Helper Machinery Group Co., Ltd. , https://www.helperfoodtek.com


The ceiling lamp installation steps are here! Not too fast to collect?